Search This Blog

Showing posts with label tutorial. Show all posts

Clip-on Hair Extensions Review / Tutorial

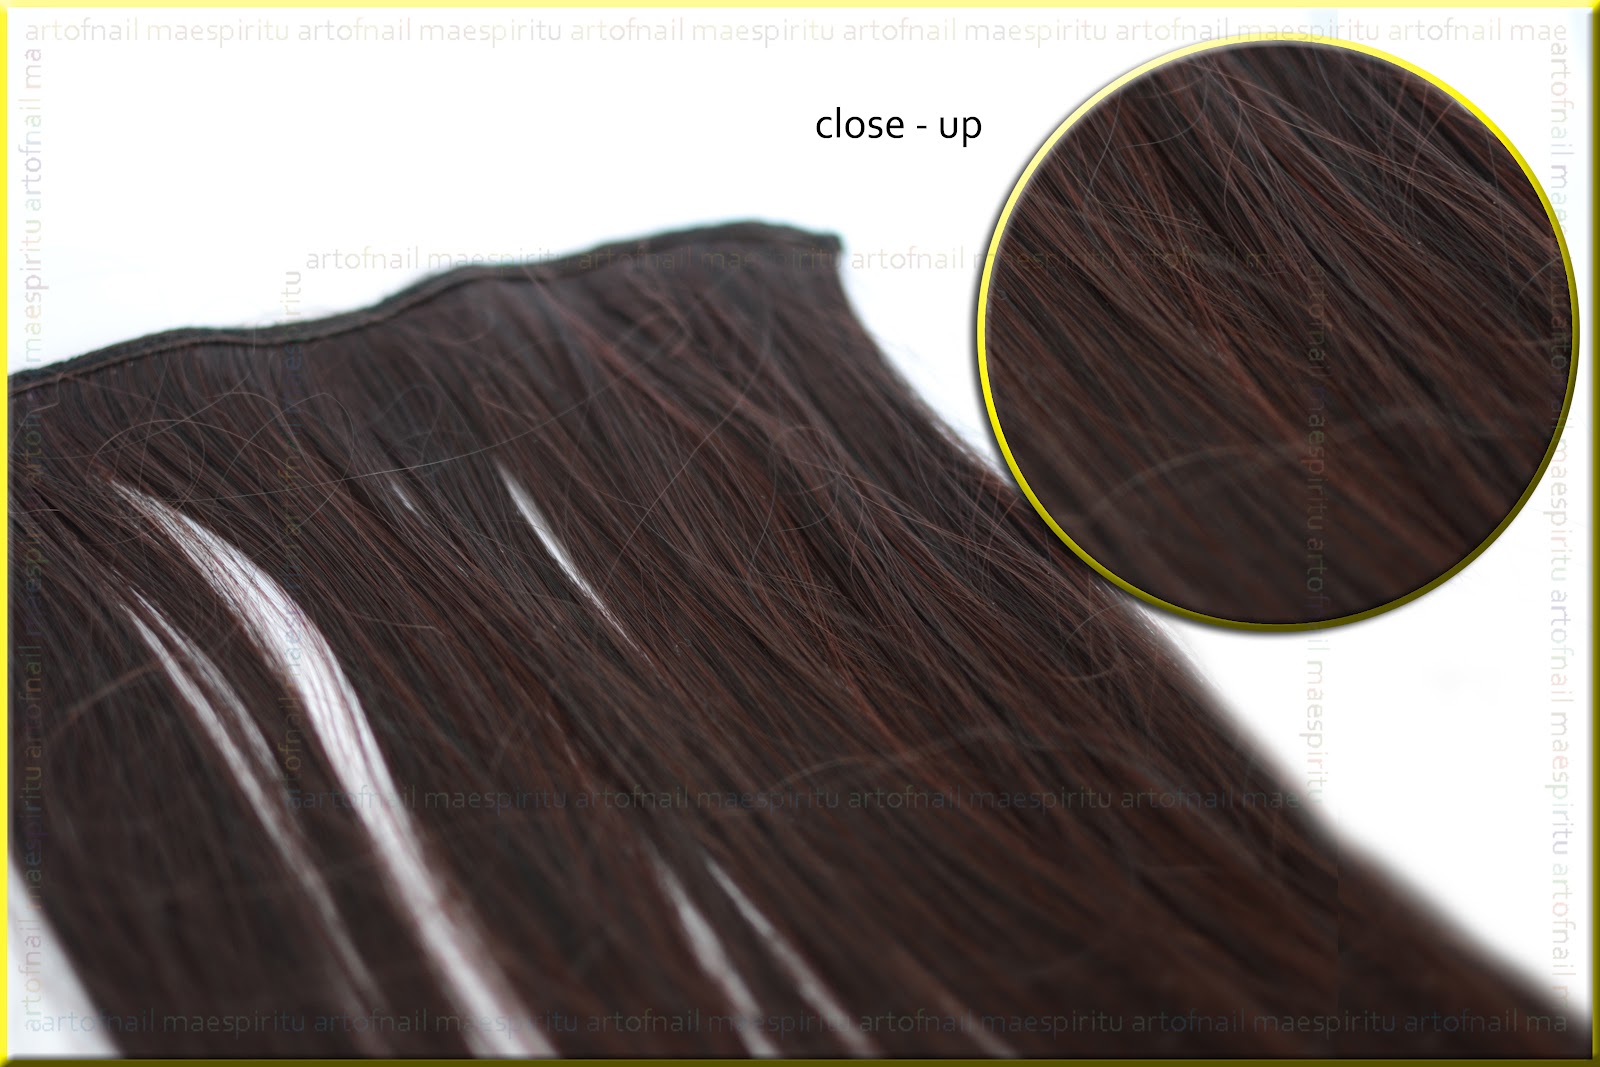
Hi guys! I just received another product from Bornpretty! I'm excited to make a tutorial for it, and I think this is one of my favorite! A 22" clip on hair extension. 
The package includes the following: click picture to zoom-in
 clip detail
close-up view


 Here's how to use them:
  1. Start out with dry straight hair and have your extensions ready.
  2. Raise your hair up. Take about an inch of your hair starting from your hairline.
  3. Unclip the hair extension.
  4. Snap it on your hair. Continue until you reach the top half of your head.
  5. Part hair on the side, and clip in the very small welfs. The ones that only have 1 clip. Repeat on the other side.

TADA!!!
Style as desired!! Surprise your friend with your new look!!!
finished product
 My personal opinion about bornpretty hair clip extension.
* stylish long hair extension that looks natural. 
*very fashionable.
*this hair extension is a perfect choice to give your hair an instant additional length.
*smooth and straight
*blends with your natural hair.
*easy to use.
Hope you like it! God bless
 NOTE: This product was sent to me as a gift. I made this review based on my own ideas and preference on how to use them. My opinions about the quality of the said products are based on my personal judgements and the outcome of my usage.

Eyelash Extension Kit Review Tutorial

Hi guys another review product came from Born Pretty! Many of us wish to have a long and perm eyelashes, and in doing so, we use different kinds of mascara. Born Pretty has an answer for that problem! Eyelash extension kit is now available on her online store. You can use this even just at home for a very affordable price of $12.72. 


Eyelash extension kit includes:
1- 8mm false individual eyelash extension 
1-10mm false individual eyelash extension 
1-12mm false individual eyelash extension 

1-false individual eyelash glue

1-straight tweezer
1-curve tweezer
1-glue remover
1-air pump
and 25pcs crescent curve lint free gel eye pad patch eyelash extension eyepads for only $2.99
                                                                               
     Here's what I received from Born Pretty
and a tutorial on putting them.

*CLICK PICTURE TO ZOOM - IN           


NOTE: This product was sent to me as a gift. I made this review based on my own ideas and preference on how to use them. My opinions about the quality of the said products are based on my personal judgements and the outcome of my usage.


1. Wash face with soap and water. 
2. Peel off the eyefoil.
3. Put the eyepatch on the lower part of your eyes, and also on your eyelids.
4. Use an eyebrush for your eyelashes.
5. Dip one eyelash extension in the adhesive and pick one eyelash on which you want to apply it.
6. Stick it on (near the root part).
7. Use pump to dry it.
8. Repeat all the steps on your remaining eyelashes.


You can now see the difference. 
 Here's the "before" and "after". it looks much prettier without mascaras and false eyelashes.

pros: 

*more affordable compared to salon extensions.

* natural looking eyelashes.


cons: 

*you have to be patient because it takes an hour to apply.
*eyeglue may irritate your eyes.


*but all in all, my sis loved the result.


 For more information

 Here' s the reference video from youtube. Credit to the owner.
 Hope you like it!  God bless 


          P.S. Born Pretty is having a nail art contest if you want to participate,pls read the details below.. thank you!!!

Theme: 

Create your manicure using one (or more!) of 5 ideas as follows: 

Studs, Flower, Star, Leopard, Butterfly

Rules and Details:
1. Starting time: June 15, 2012.       
    Ending time: June 25, 2012.
2. You must follow us on this blog and our Facebook . 
3. Your nail art design can be new or old but it must be your own.
4. Your design must include at least one of the five elements listed above.
5. Each person must submit no more than two entries.
6. You must submit your design by leaving exact link of your design in the comment box of this post. You can upload your image on any free online website, including your blog, facebook, twitter and so on. Plus, please also leave you e-mail address, then if you are picked to be a winner,we can contact you ASAP.


The Judging:
We will still host a vote to choose 3 winner in all participants after collecting all designs at June 26, 2012. 

Prize:
We provide three prizes in different value for the final three winner. You can find them below.
The First Prize:
The Second Prize:
The Third Prize: 
Want to get those awesome items? Just hurry up to summit you entry!!!

If you have any question about the contest or some good ideas to share with us, please feel free to leave a comment or contact us at blog@bornprettystore.com


Moderndoll Eye Mystic Black Contact Lenses (tutorial/ review)

Hi guys, I received a package last week and it came from Bornprettystore.. We all know that they sell nail art tools. but they also sell some beauty products nowadays. I really like the doll eye look contact lens that they sent me. I made a review/tutorial using it. 

Product Decription:
Specifications: 
DIA:18.2MM BC:8.6MM

WEIGHT:35G
Thin edge design

Extreme comfort & UV Protection

Easy adaption

Sandwich Technologic-color inside
Can be worn for 6 months, as long as they are cared for properly. 

model: aya, my sister

photographed / reviewed by : yours truly


Here's how to use contact lenses properly:
1. First you have to wash your hands with soap and water, make sure your hands are clean and there is no residue of any oil or lotion because that could irritate your eyes.

 2. Using contact lens holder, place the contact lens into the tip of your pointer finger.
 3. With your eyes wide open, put the contact lens into the center portion of your eye.
4. After you are finished using them,make sure to clean it before putting them back on the lens case filled with adequate lens care solution.

 tada! here's the before and after look! 
* You can easily distinguish the difference between an eye with contact lens and one without. The eyes are more vibrant and bright.
 Final outcome!!! 

NOTE: This product was sent to me as a gift. I made this review based on my own ideas and preference on how to use them. My opinions about the quality of the said products are based on my personal judgements and the outcome of my usage.

How to do layering technique on your nails

 •How to do layering technique on your nails•
1. Prepare all the necessary materials. (base coat, image plate and special polish)
2. Apply your desired basecoat.i applied 2 coats of 2b nail polish. Let dry.
3. Choose the image plate that you like depending on your nail length. I chose qa8 and qa10.
4. Choose special polish that will blend and compliment your chosen base coat and stamp it on your nails. I chose green s.p for the leaves, then red and neon pink for the flower design.
5. Repeat step 4 until your pattern is complete.
6. Apply top coat. Let dry
Hope you like it! God Bless

6 steps on how to produce multiple colors in just one stamp.

6 steps on how to produce multiple colors in just one stamp.
1. Prepare all the necessary materials. (stamp, scraper, special polish, image plate)
2. Choose the design you like. I chose hello kitty FUN2 image plate full design.
3. Choose the color you want to use. I chose the colors yellow, blue and pink.
4. Apply the 3 stamping polish on the plate in vertical or either horizontal.
(it's up to you)
5. Scrape
6. Stamp it on your nails!

Splatter Art Technique + Tutorial

Hi guys just a quick post!

I got this idea from Enamel Girl Kay, check her blog for dry water marble tutorial.. It's very fun and easy to do.. :) I really enjoyed doing this design.. When I was in high school, we were thought this kind of brush technique but I can't remember what it's called so I named it "Splatter Art Technique".
Btw, here's my version. I will probably do more design. Enjoy!

SPLATTER ART TECHNIQUE

TUTORIAL
CLICK IMAGE TO ZOOM-IN

RETRO STYLE
Hope you like it! God bless..